 TryOn
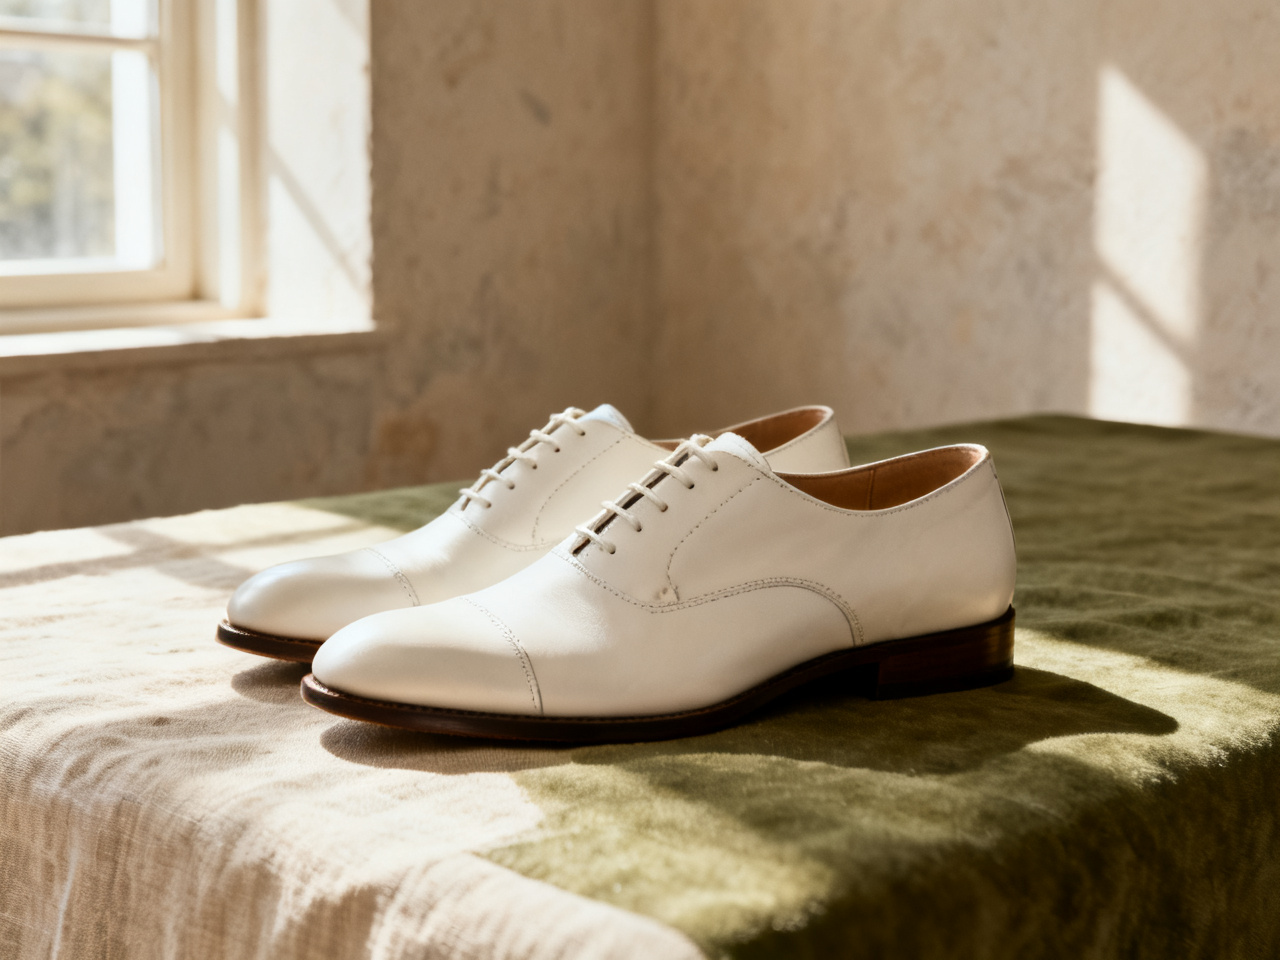
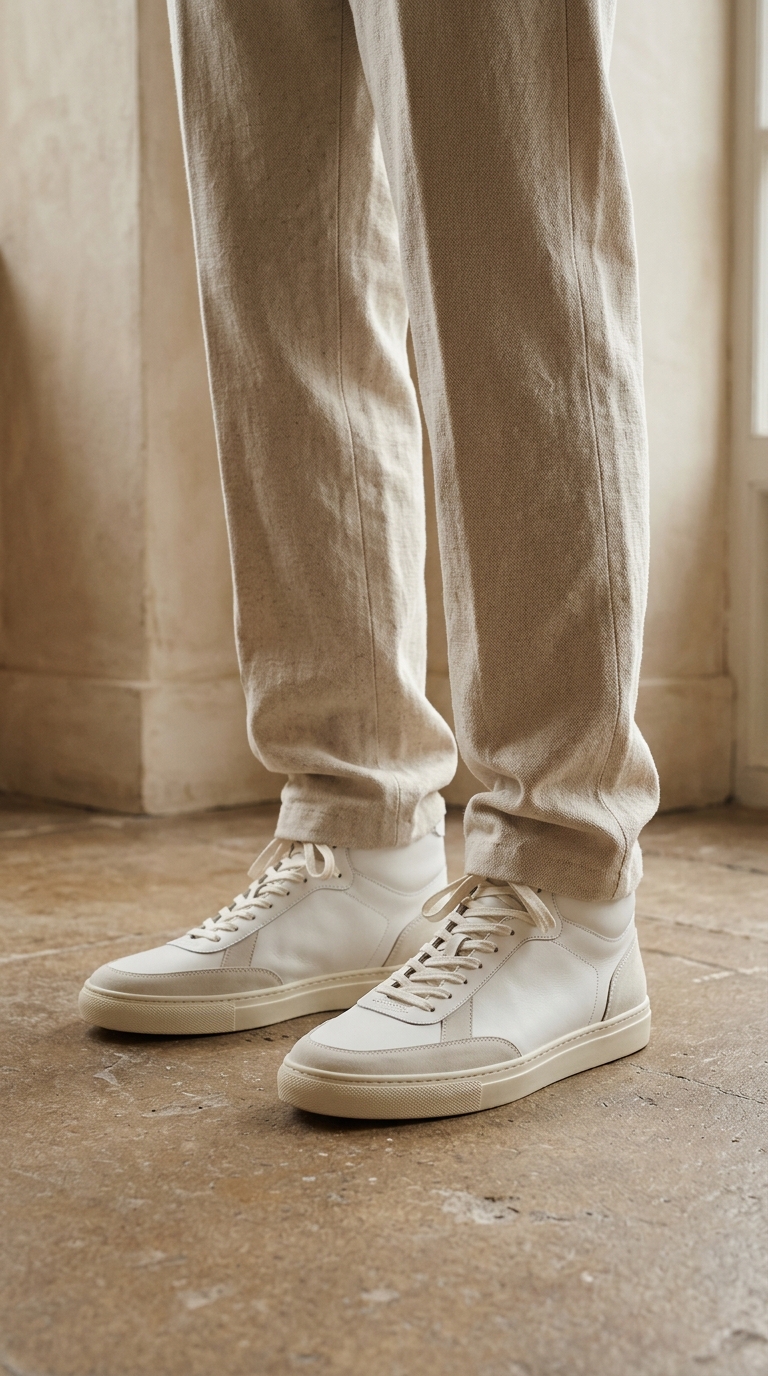
Compare a low and a high top
Put both heights under the same trousers and see where the hem lands on each one.
1 free try-on, 1 free video and 1 free image every day — no sign-up neededSee what's free
Upload a photo of yourself and a product shot of the pair. Sneakers, boots or heels land at your feet in seconds, free, right in your browser.
Two images. One new perspective.
Private by default · Delete any result at any time
A first look at what’s possible
Start from a pair instead of a blank upload. Pick an image below to load it as a sample, then swap in your own photo and the shoes you have in mind. Samples are free, so a first comparison costs nothing.
The studio opens whether or not you are signed in, and a fresh set of previews appears every day. The first pair is never gated, and no card is asked for at any point.
Each day brings a new run of previews for sneakers, boots or the heels you keep comparing. The allowance renews on its own, which suits a decision that usually waits for payday.
Unlimited mode lifts the daily cap, so you can put white sneakers next to black ones, or a boot next to a loafer, with the same outfit. Two pairs side by side settle the question faster than two separate try-ons a week apart.
No card, no countdown, no email wall before the first preview. An account only matters for keeping a look in your history, and for holding credits if you ever want more than the daily allowance.
The daily allowance covers every tool on this page, not just footwear.
Shoes are one studio in a set. The same full-body photo also carries clothes, a bag, a watch or a new hairstyle, so a whole look can be checked without uploading again. Footwear is usually the last decision and the one a hem depends on.
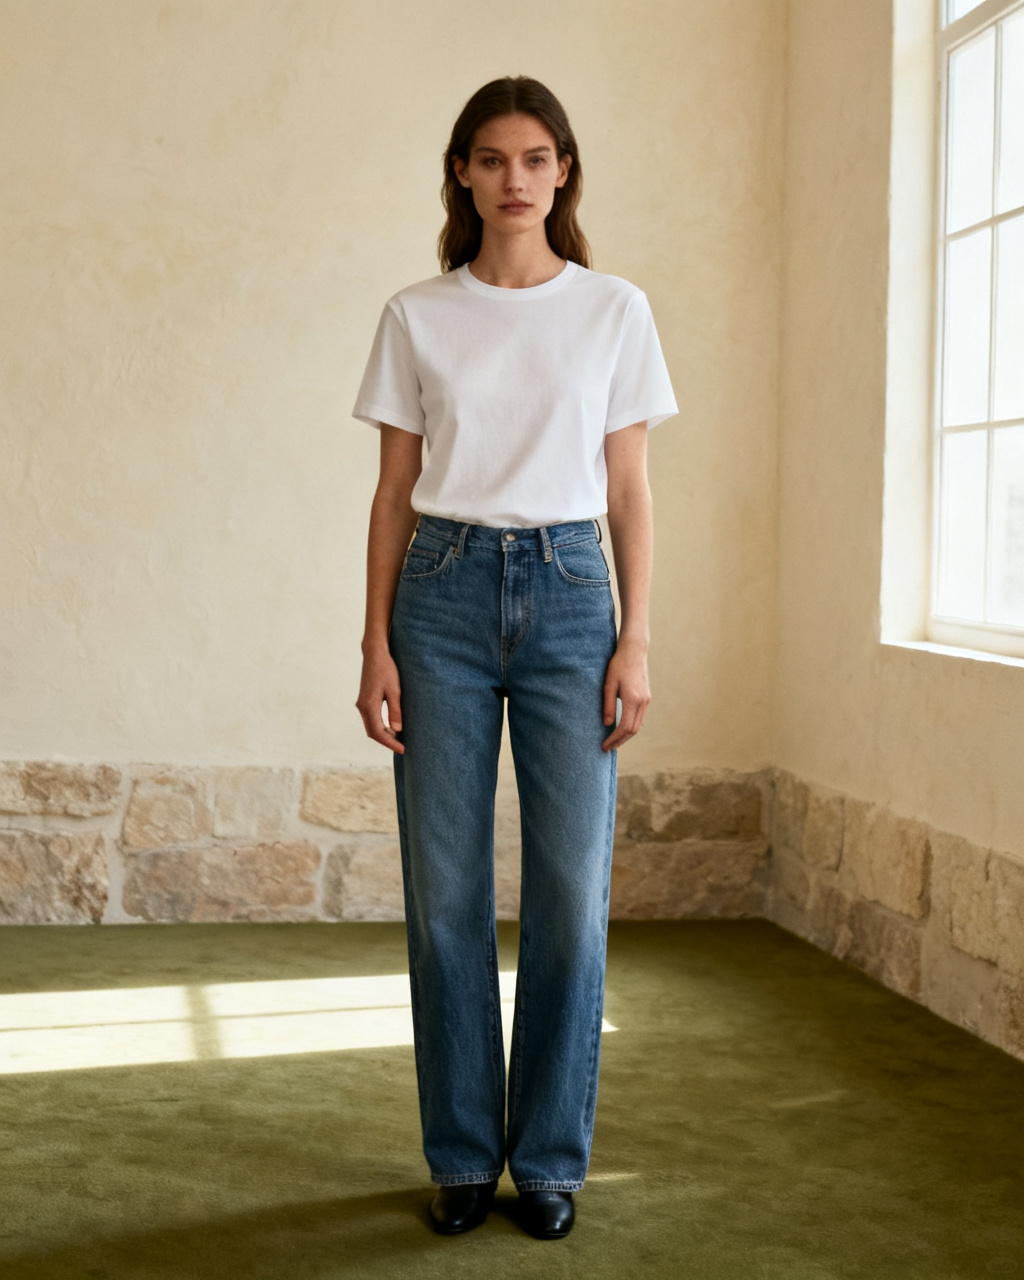
Upload your photo and the item you have in mind, then see it on your own body instead of a stock model. The steps stay the same for a garment, a pair of frames or a watch: one photo of you, one photo of the piece, one preview. Start here when you are not sure which fitting tool you need.
Start fittingYour feet need to be in frame, because the hem and the shoe have to meet. Stand straight, keep the feet slightly apart and avoid a shot where a trouser leg covers the ankle. If you wear the same trousers in every preview, comparisons stay fair.
A product photo from the store works best. Shoot or pick a side-on view of the whole pair, with the sole included and no second shoe behind it. A worn shot is a fallback, since the angle of a foot changes the silhouette.
Check how the shoe reads with the length of your trousers, then compare a second color. Size, width and arch support still come from the size chart or a fitting. Keep the pair that survives both tests, the look and the measurements.
Every preview is built from two images: your photo and the pair. Both decide how much the result can show, so a minute spent on them is worth more than a second attempt. Feet in frame and a side-on product shot are the two things that go missing most often.
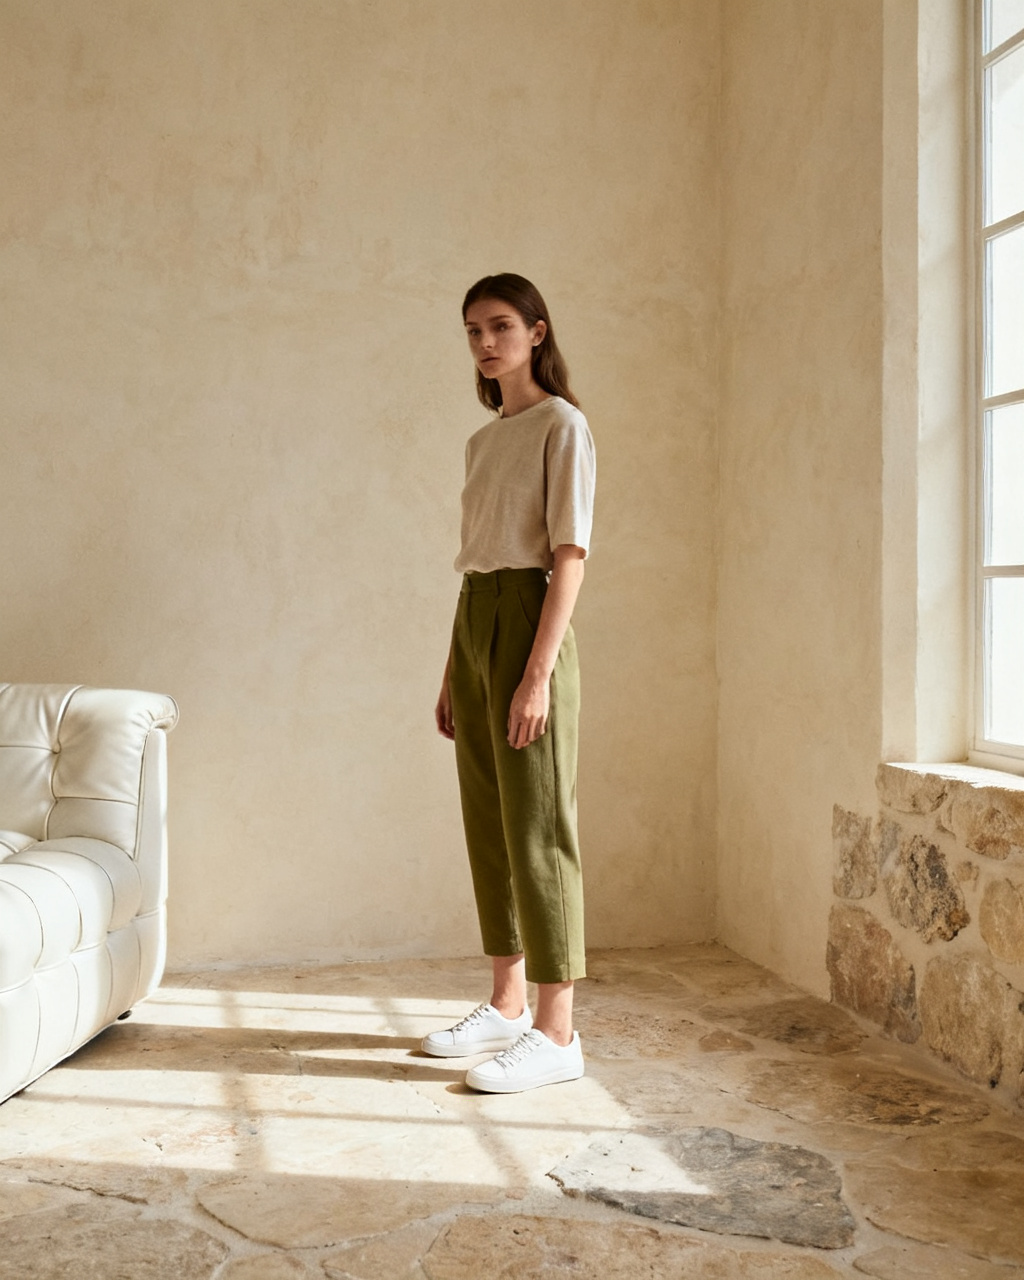 Feet visible. Hem clear.
Stand facing the camera with your feet in frame and a little space around them. Cropped ankles, wide-leg trousers that swallow the shoe and a mirror selfie all cost detail. Daylight and a plain floor make the shoe line easier to read.
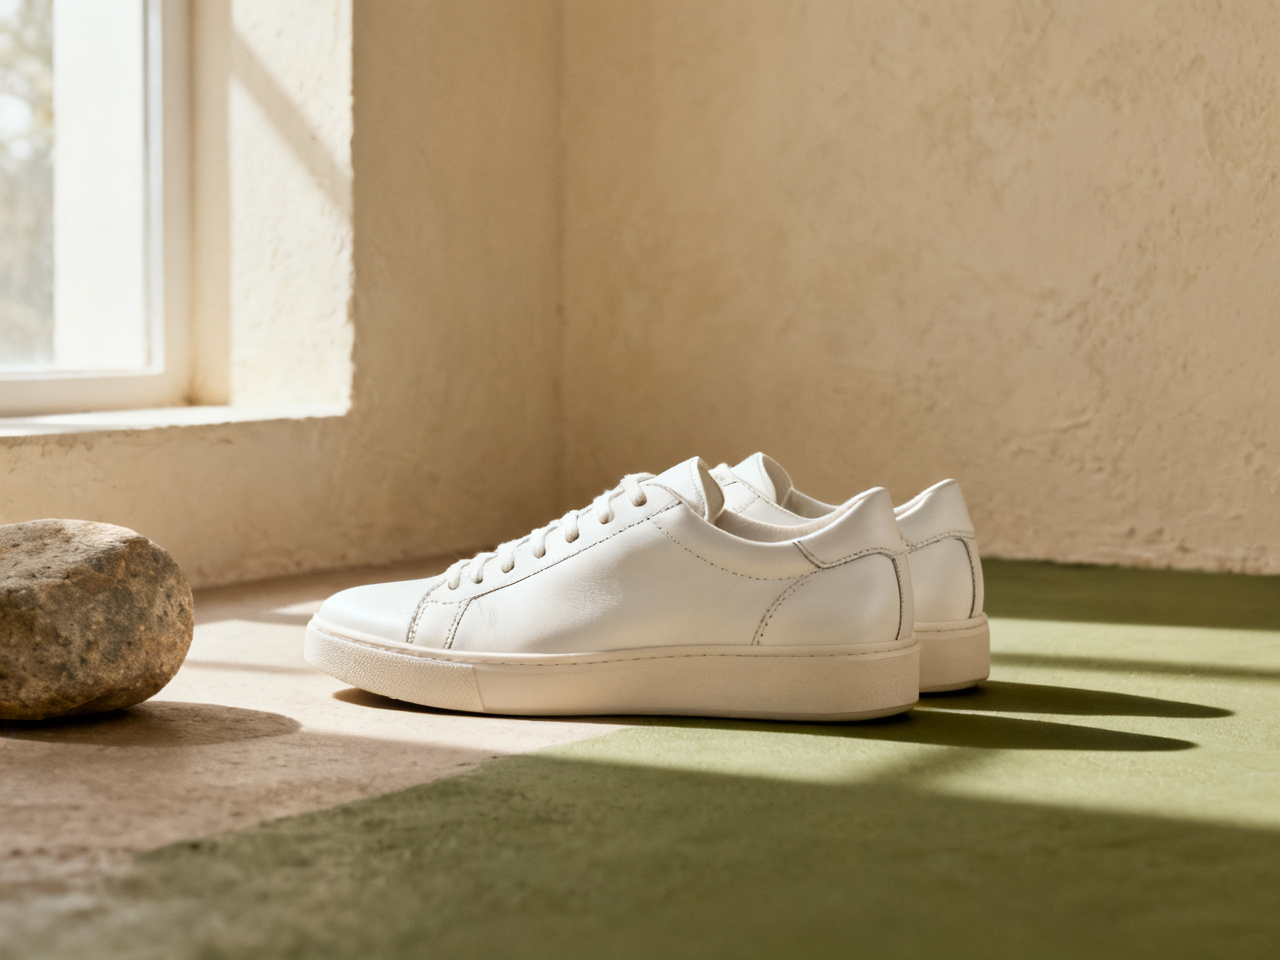 Side-on. Sole included.
The reference should make the silhouette easy to read. Top-down shots, a single shoe half out of frame and photos where laces or a box cover the toe leave the preview guessing at height. A store shot on white is clean, but a worn shot shows how the shoe sits under a hem.
The pair is side-on, with the sole, heel and laces visible.
Both shoes sit at the same angle, without one hiding the other.
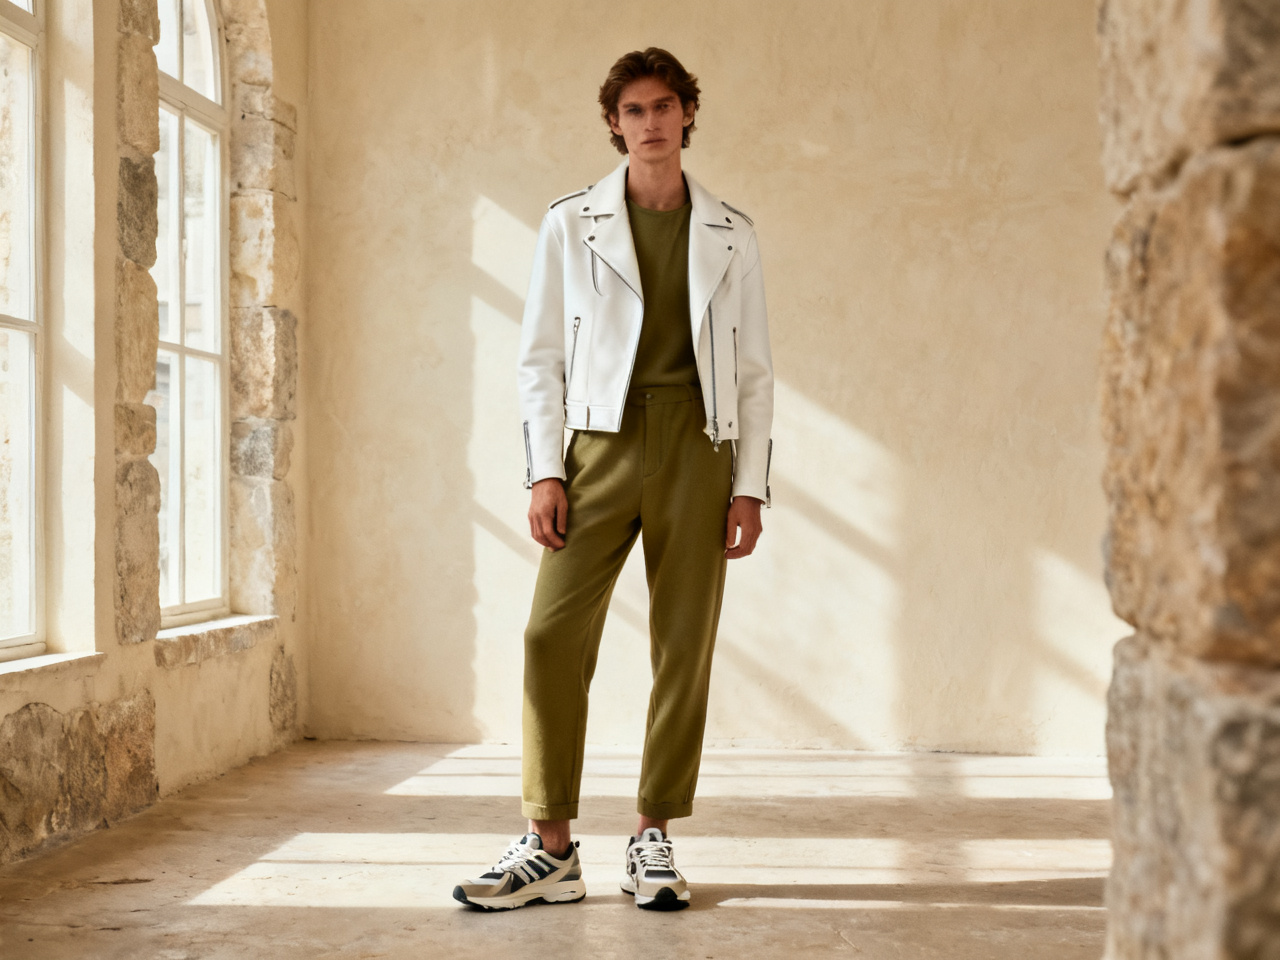
The shoe shows at the hem, so the proportion is easy to judge.
One preview can serve a product page, a listing or a styling draft. Pick a scenario to see what it changes, and how much of a decision it can carry on its own.
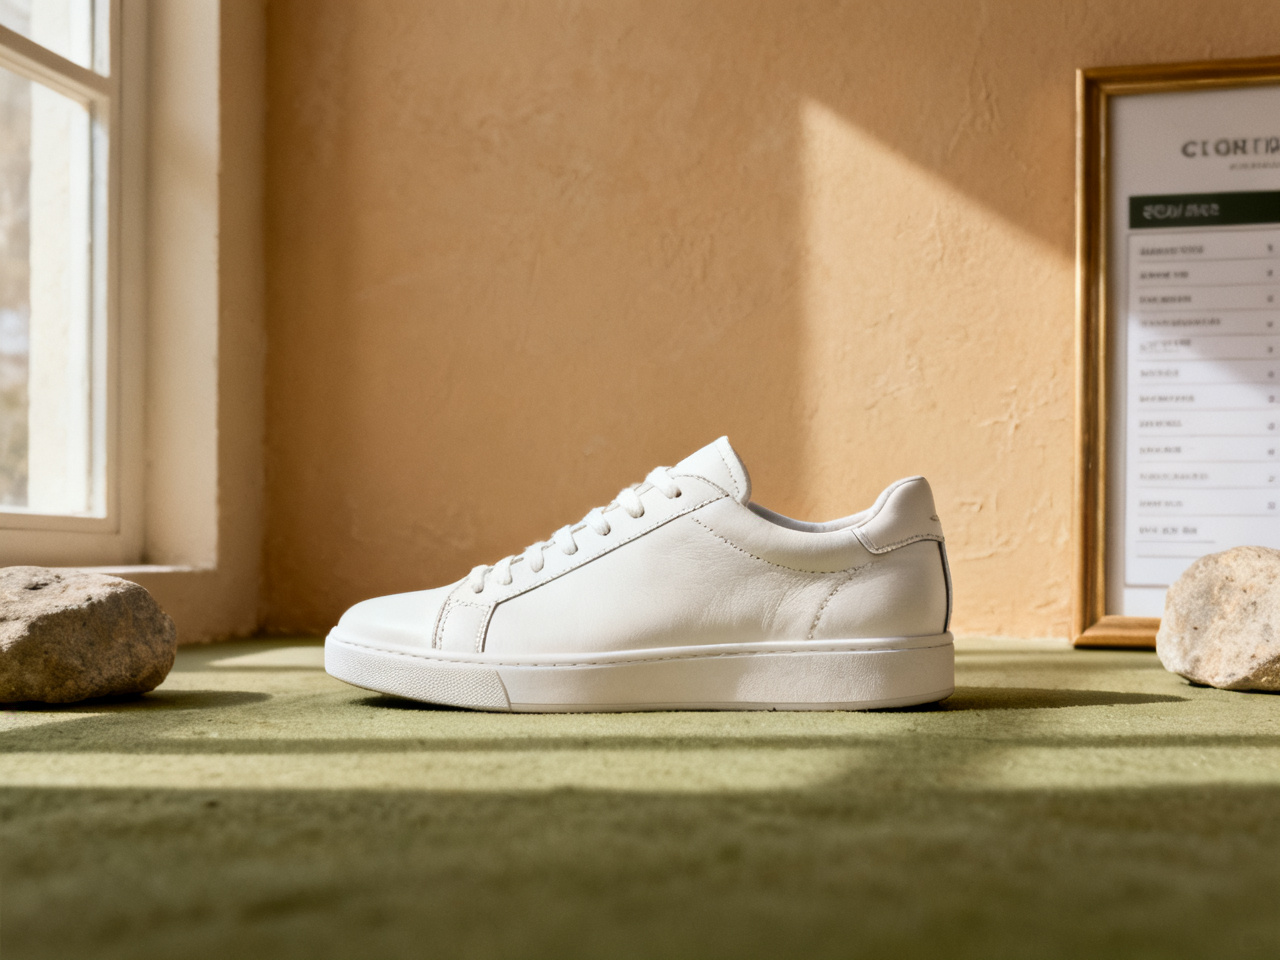
Set a preview beside a product photo so shoppers see the height and the shape against a real outfit. Sizing charts and the return policy still decide the order. The question a product shot cannot answer is how a chunky sole reads with a wide trouser, and a preview does.
Notes from shoppers, resellers and stylists who check a pair before they order.
“I could never tell whether a chunky sneaker would look heavy with wide trousers. One preview answered it.”
“I preview a pair with the client outfit before a fitting, so the appointment starts from two options instead of ten.”
“Adding a preview to my listings cut the "how tall are these" messages almost completely.”
“Customers bring a screenshot of their own outfit with the shoe on it. The conversation moves faster.”
“I compared black boots and brown ones with the same coat, then ordered one pair instead of two.”
“Planning a sneaker series around one outfit photo took an evening instead of a shoot day.”
“I could never tell whether a chunky sneaker would look heavy with wide trousers. One preview answered it.”
“I preview a pair with the client outfit before a fitting, so the appointment starts from two options instead of ten.”
“Adding a preview to my listings cut the "how tall are these" messages almost completely.”
“Customers bring a screenshot of their own outfit with the shoe on it. The conversation moves faster.”
“I compared black boots and brown ones with the same coat, then ordered one pair instead of two.”
“Planning a sneaker series around one outfit photo took an evening instead of a shoot day.”
Start from a look rather than a pair: a height you are unsure about, a color you never wear, or a pair that keeps sitting in a cart.
Put both heights under the same trousers and see where the hem lands on each one.
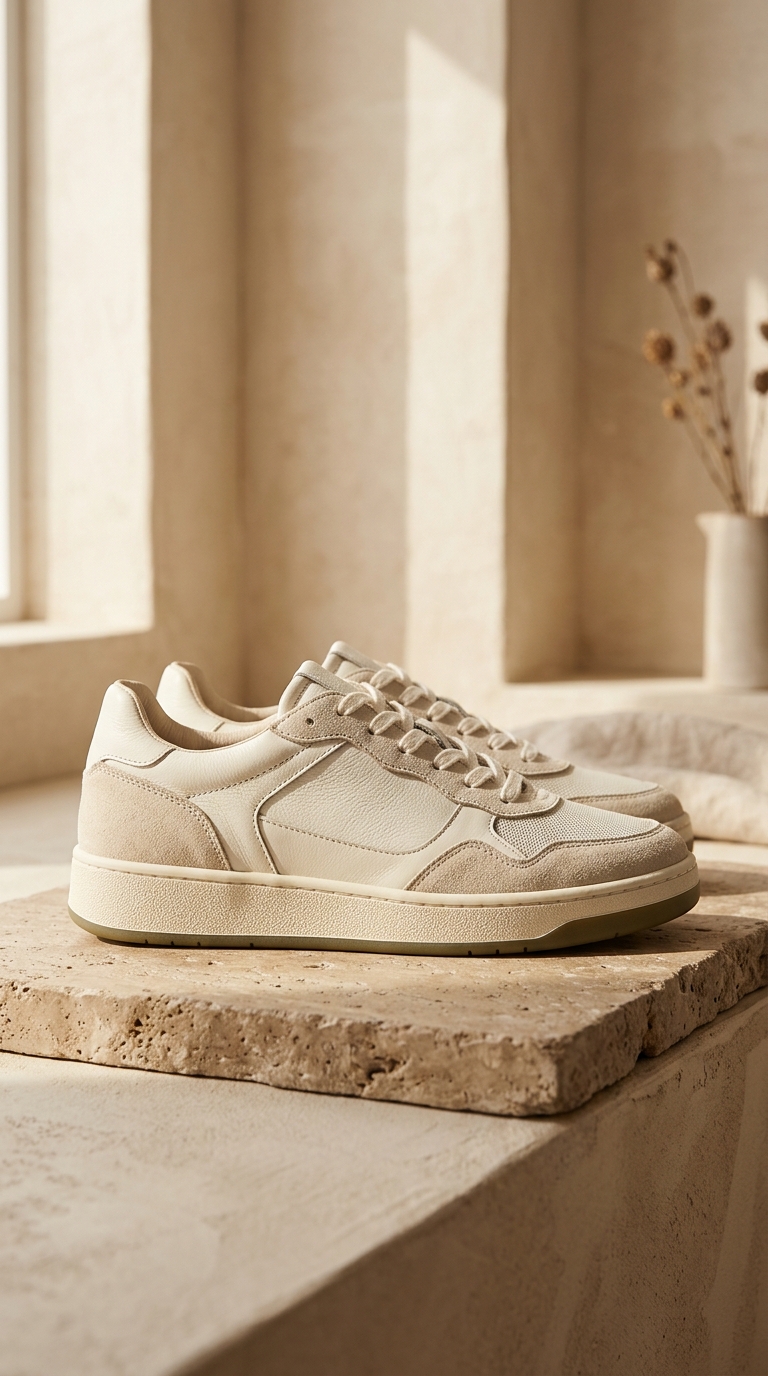
Drop a red or cream sneaker onto a neutral look and check whether it reads as styling or as an accident.
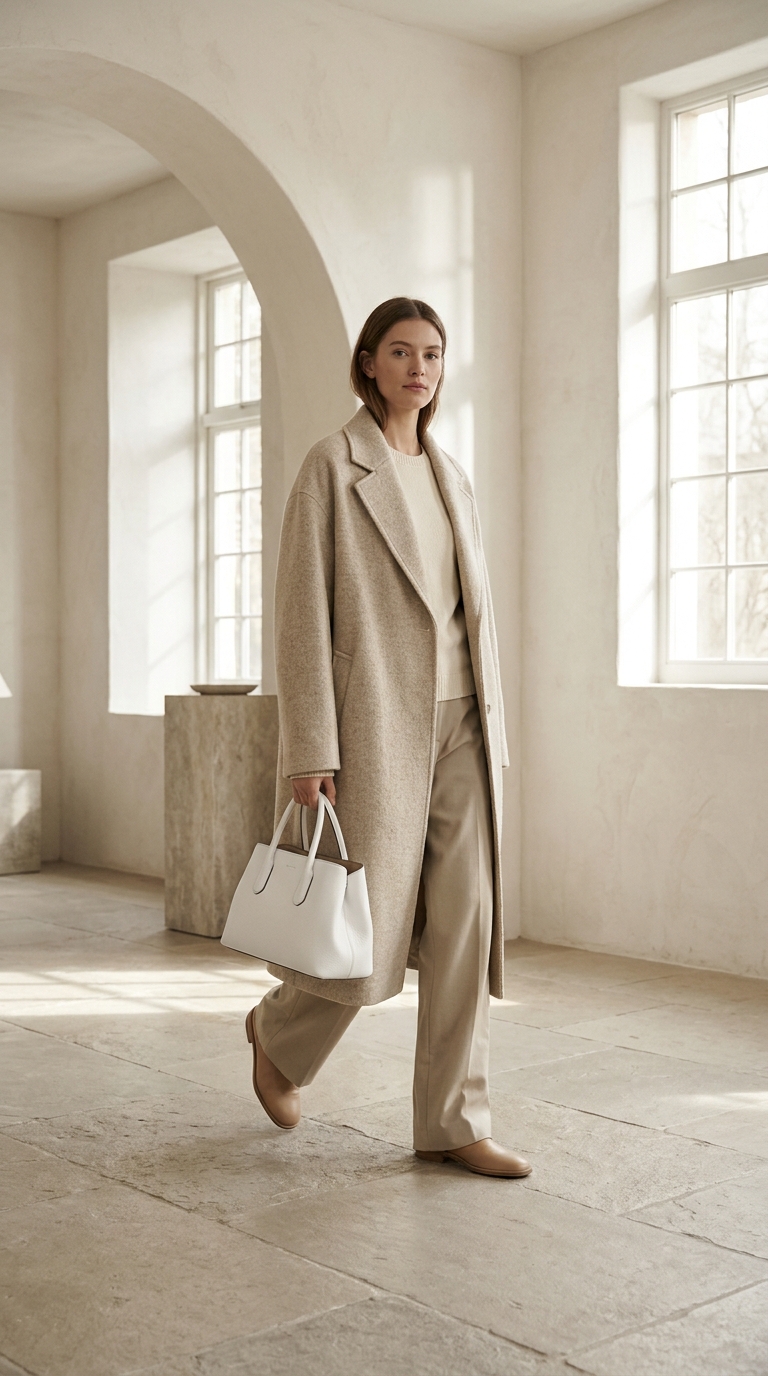
A bag and a shoe share a color story. Preview both on one photo instead of one item at a time.
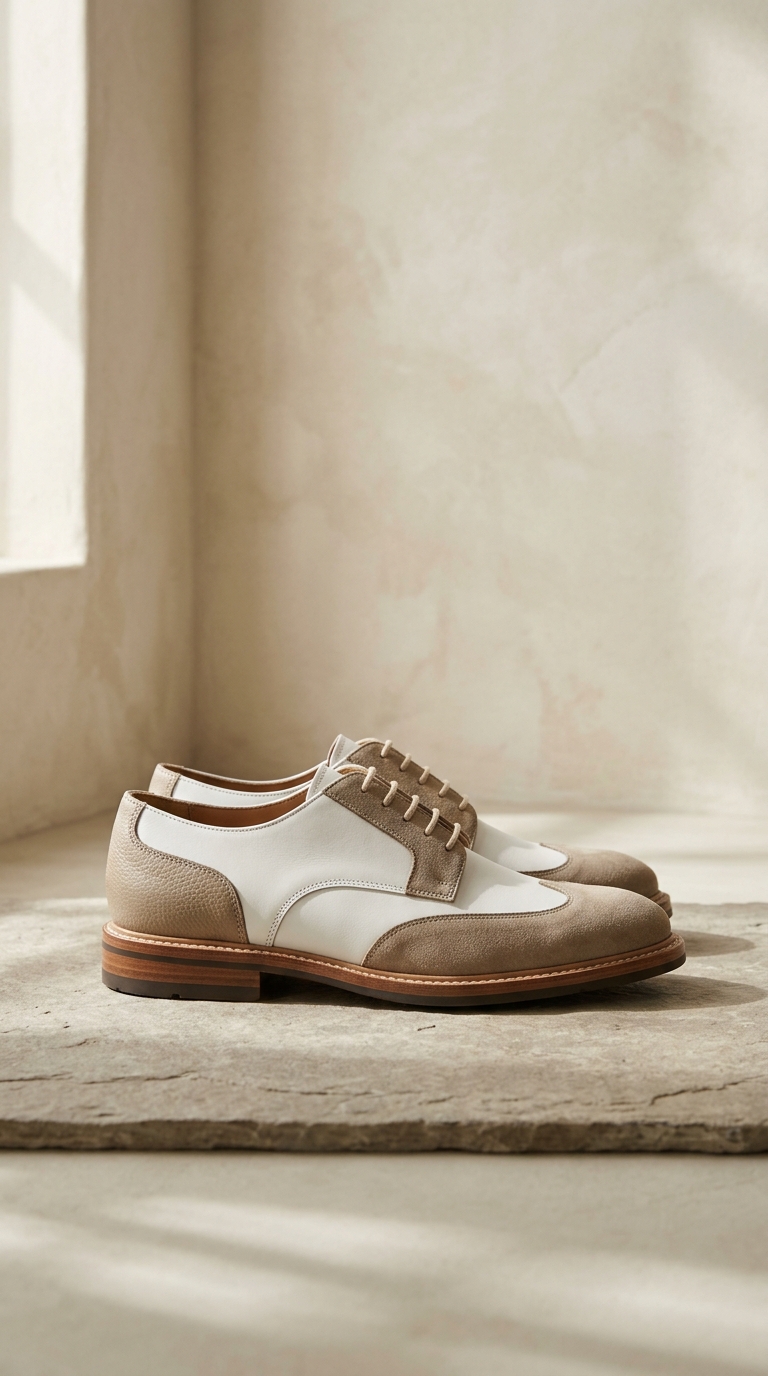
Try the heel or the loafer with the outfit you have chosen, so the length is settled before the night.
Short answers about seeing a pair on your own photo, online and for free.
It runs in the browser rather than as a download. Upload a full-body photo and a product shot of the pair, and the preview appears in seconds on a phone, tablet or laptop. No install and no account for the first pair.
Yes. The preview places the pair at your feet on your own photo, so you can judge height, shape and color with your outfit before you order. It is a visual check, not a fitting: length and width still come from the size chart.
A full-body shot in even light with both feet in frame and the ankle clear. On the product side, a side-on view of the whole pair with the sole visible. Standing the same way each time keeps two previews comparable.
Starting is free. You get free previews every day without an account, and the sample photos and sample shoes are free to use too. Unlimited mode removes the daily cap when you want to compare a whole shelf at once.
The model reads your stance and the hem of your trousers, then renders the pair at the right scale and angle. A full-body photo and a side-on product shot give it the most to work with, which is why a cropped ankle produces a weak result.
No. It shows proportion, not fit. Check the size chart, the width and the reviews about running small or large before you order. A pair that looks right on your photo can still be half a size off in the heel.
A preview cannot show weight, arch support or how a pair breaks in. Use it to settle the look, then try the pair on if the return policy allows. For boots especially, the ankle and the shaft matter more than the picture can show.
A clear product photo or a side-on shot of the pair works as a reference. Use images you have permission to upload, with the whole pair visible. Store photos on white are the easiest source to read.
Uploads are re-encoded and stored privately. Results appear only in your own history and are served only to your account, and you can delete any of them at any time.
Yes, and sneakers are the easiest category to preview. The silhouette is simple, the sole is visible from the side, and the only thing that usually goes wrong is a trouser hem covering the collar. Keep the ankle clear and the preview is reliable.
Any pair you have a product photo of can be previewed, as long as you have the right to upload the image. This studio is not affiliated with any shoe brand, so the preview shows how the model and color read, not an official store render.
Trust it for look and proportion, not for fit. The preview is generated from your photo, so the height, color and bulk are close. The things it cannot know are the width, the weight and how the pair feels after an hour.
Yes, as long as the photo shows the calf as well as the foot. Tall boots fail when the frame stops at the ankle, because the model has nothing to extend the shaft into. A pair of shorts or a shorter hem makes the preview much clearer.
Yes. Heel height is the detail people want to see, so use a side-on product shot where the full heel and the toe are both in frame. Try the pair with the trousers or the dress you plan to wear, since the hem decides how much of the shoe shows.
One photo per outfit, which takes a minute each. Upload the full-body shot you already use, then swap the pair or the clothing behind it. People usually test two outfits: the one they wear most and the one the shoes were bought for.
The preview cannot answer that, and any tool that claims to is guessing. Use it to settle the look, then follow the brand guidance: runners usually go half a size up, leather boots and loafers usually go true to size, and a wide toe box changes the answer again.
Width is invisible in a preview, so it belongs to the listing and the reviews. Search the reviews for the word wide before you order. A pair that looks right under a hem can still squeeze across the ball of the foot, which is the reason most shoe returns happen.
Yes, and it is useful for color and bulk rather than performance. A stability shoe and a neutral trainer look similar on a photo and feel nothing alike on a run. Preview the look, then read the specification for the drop, the cushioning and the surface it is built for.
Brush suede dry, wipe leather with a damp cloth, and wash mesh by hand rather than in a machine. A cream or white pair shows a scuffed toe within a week, which is worth knowing before you order a color that only works in a photograph.